The origins of the Piano
The Piano’s Ancestor was a Monochord Instrument
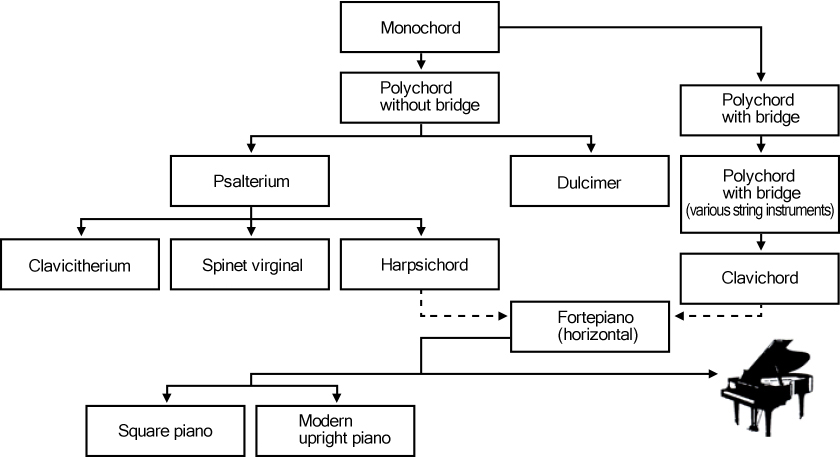
Instruments can be divided into three categories based on how they produce sounds. Those categories are string instruments, wind instruments, and percussion instruments. The piano’s ancestry can be traced back through various instruments such as the clavichord, harpsichord, and dulcimer. But if it were traced back even further, one would find that the piano is a descendant of the monochord. In other words, based on its ancestry the piano can be classified as a string instrument.
Origins of the piano
The Piano Has the Same Mechanism as the Dulcimer
Although the piano can be classified as a string instrument due to the fact that the sounds come from the vibration of strings, it can also be classified as a percussion instrument because a hammer strikes those strings. In this way it is similar to a dulcimer.
The dulcimer is an instrument that originated in the Middle East and spread to Europe in the 11th century. It features a simple resonating box with strings stretched on top of it. Much like a piano, a small hammer is used to hit the strings, which is why the dulcimer is considered to be a direct ancestor of the piano.
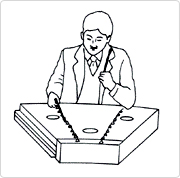
The dulcimer
The Clavichord, a Big Step Towards the Piano
The piano is also considered to be a part of the keyboard family. The history of instruments with keyboards dates far back and originates from the organ, which sends bursts of air through pipes to make sound. Craftsmen improved upon the organ to develop an instrument that was a step closer to the piano, the clavichord.
The clavichord first appeared in the 14th century and became popular during the Renaissance Era. Pressing a key would send a brass rod, called a tangent, to strike the string and cause vibrations that emit sound over a range of four to five octaves.
The clavichord
The Piano Looks Like a Harpsichord
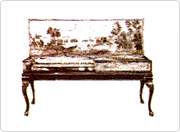
Created in Italy in around 1500, the harpsichord later spread to France, Germany, Flanders, and Great Britain. When a key is pressed, a plectrum attached to a long strip of wood called a jack plucks the string to make music.
This system of strings and soundboard, and the overall structure of the instrument resemble those that can be found in a piano.

The harpsichord
Cristofori, Creator of the First Piano
The piano was invented by Bartolomeo Cristofori (1655-1731) of Italy.
Cristofori was unsatisfied by the lack of control that musicians had over the volume level of the harpsichord. He is credited for switching out the plucking mechanism with a hammer to create the modern piano in the year 1709.
The instrument was actually first named “clavicembalo col piano e forte” (literally, a harpsichord that can play soft and loud noises). This was shortened to the now common name, “piano.”
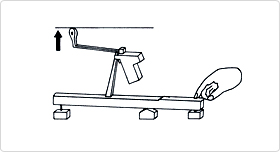
The mechanism invented by Cristofori
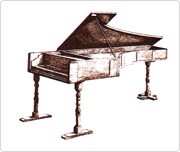
The Cristofori fortepiano
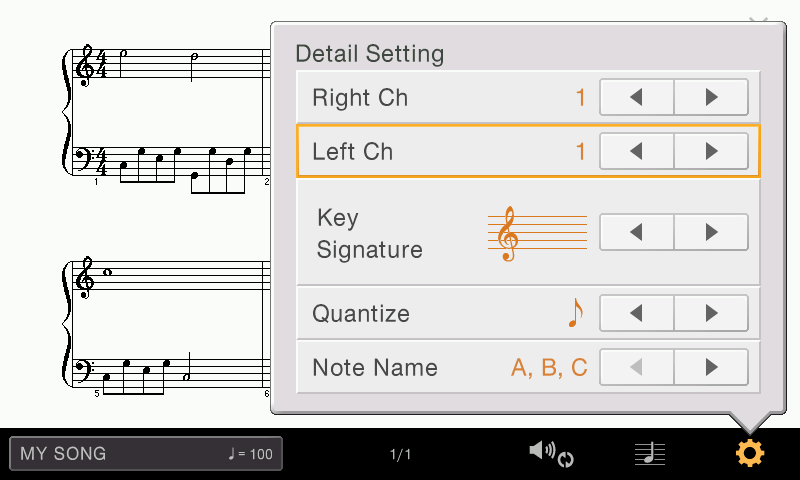
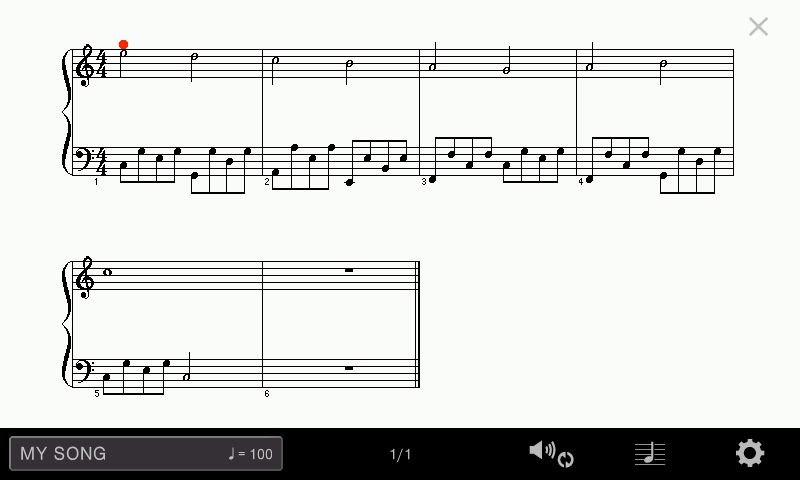
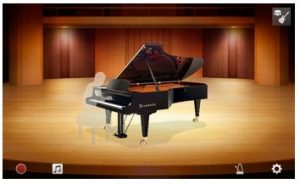
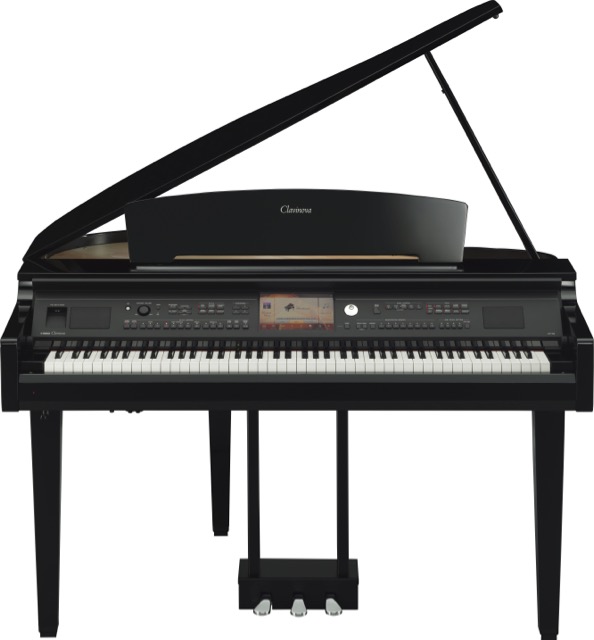 One of the most popular features of the CVP Clavinova is the ability to display a music score in the large LCD screen contained in the center of the CVP panel. Technically, what you see in the screen of the Clavinova is not “sheet music” – it is a momentary display of MIDI information in score notation format. So how do you capture and convert this information into a score of your composition? Learn the easy tips and techniques here.

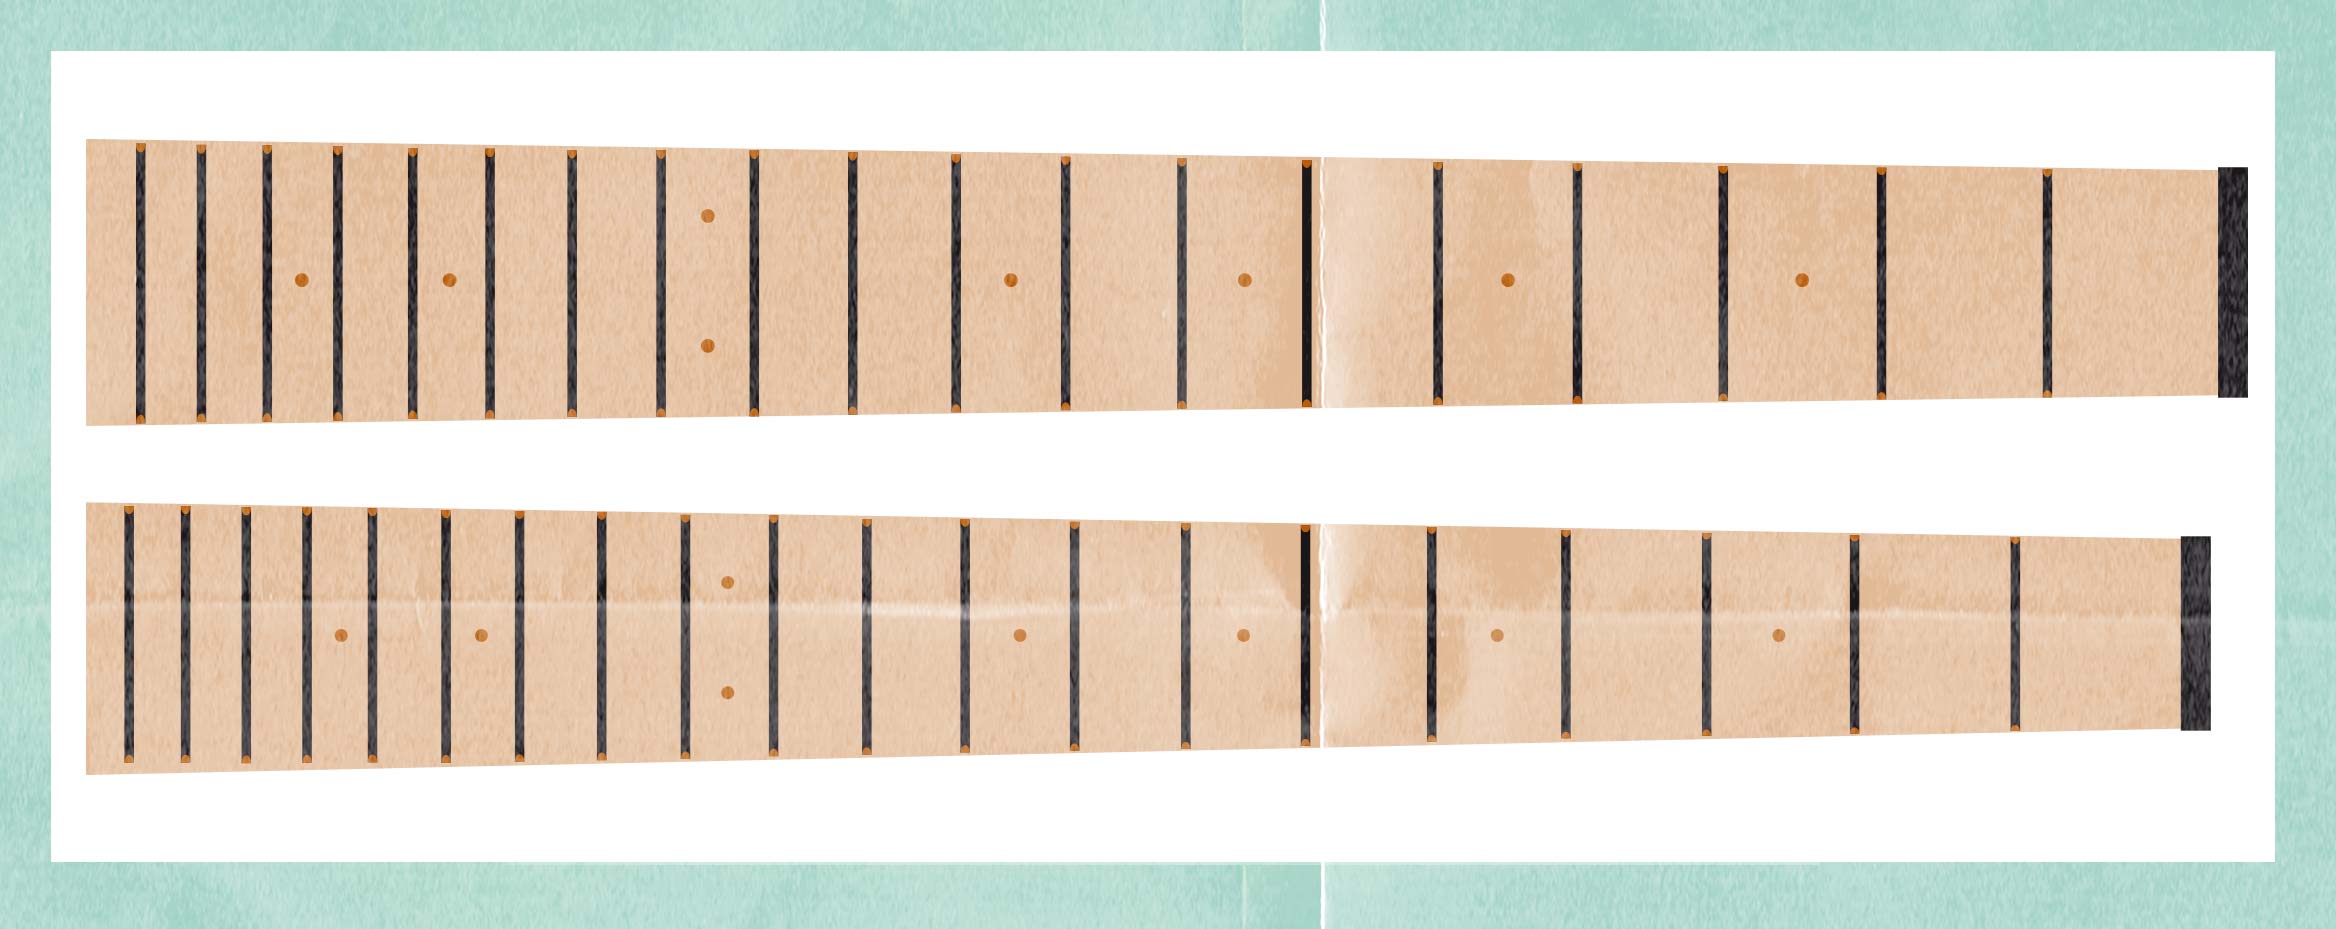 Mathematically, the variance between a 12-fret